What do you picture when someone mentions rural Nebraska? For me, it was classic American scenes of small-town life and farmhouses along dusty roads. What I didn’t picture was a birder’s paradise.
Then I learned that, every spring, hundreds of thousands of sandhill cranes funnel through western Nebraska in one of the world’s last great migrations. Feeling like I stumbled on a secret that only locals and die-hard birders know about, I had to go see for myself.
Is it really a secret if 700,000 of your (feathered) friends already know about it?
Every year between mid-February and mid-April, most of the world’s sandhill crane population migrates north from their wintering grounds in southern U.S. and northern Mexico through a narrow bottle-neck in Nebraska’s Platte River Valley. There, the cranes stop to recharge for a few weeks before tackling the next long leg of their trip. By summer, they’ll be in Canada, Alaska and even Siberia for their breeding season.
When I visited in late March, there were almost 700,000 sandhill cranes estimated to be in the Platte River Valley!

In the early morning, sandhill cranes take off in big waves from the Platte River. © 2021 Elizabeth Acevedo.
Action-packed times on the Platte River
Around sunset, huge groups of cranes start arriving in wave after wave, landing in the Platte’s shallow areas to spend the night. By the time they settle in, tens of thousands of cranes can be in just one spot. Where we were on the river, it was estimated that about 50,000 cranes landed for the night.
If nothing disturbs them, they’ll rest there together until the morning when they head off to neighboring corn fields to feed. The morning takeoff can happen gradually in small groups or all at once in one giant, jaw-dropping exodus.

Ready to get their day started, sandhill cranes leave in a group lift off from the Platte River. © 2021 Elizabeth Acevedo.
Where was I during all this drama? Hiding out in photo blinds
It’s a dream for a wildlife photographer or bird lover to have a front row view as tens of thousands of sandhill cranes land on the river at sunset and fly off around sunrise. But the nightly roost is when the cranes get some much needed rest. They are wary and easily scared off by humans, which is understandable as this is the only place on their migration route where they aren’t hunted. So, to have a great view of sandhill cranes on the river without disrupting their rest time, we got into photo blinds.

Blind at Crane Trust on Platte River. © 2021 Elizabeth Acevedo.

Blind at Rowe Sanctuary on Platte River. © 2021 Elizabeth Acevedo.
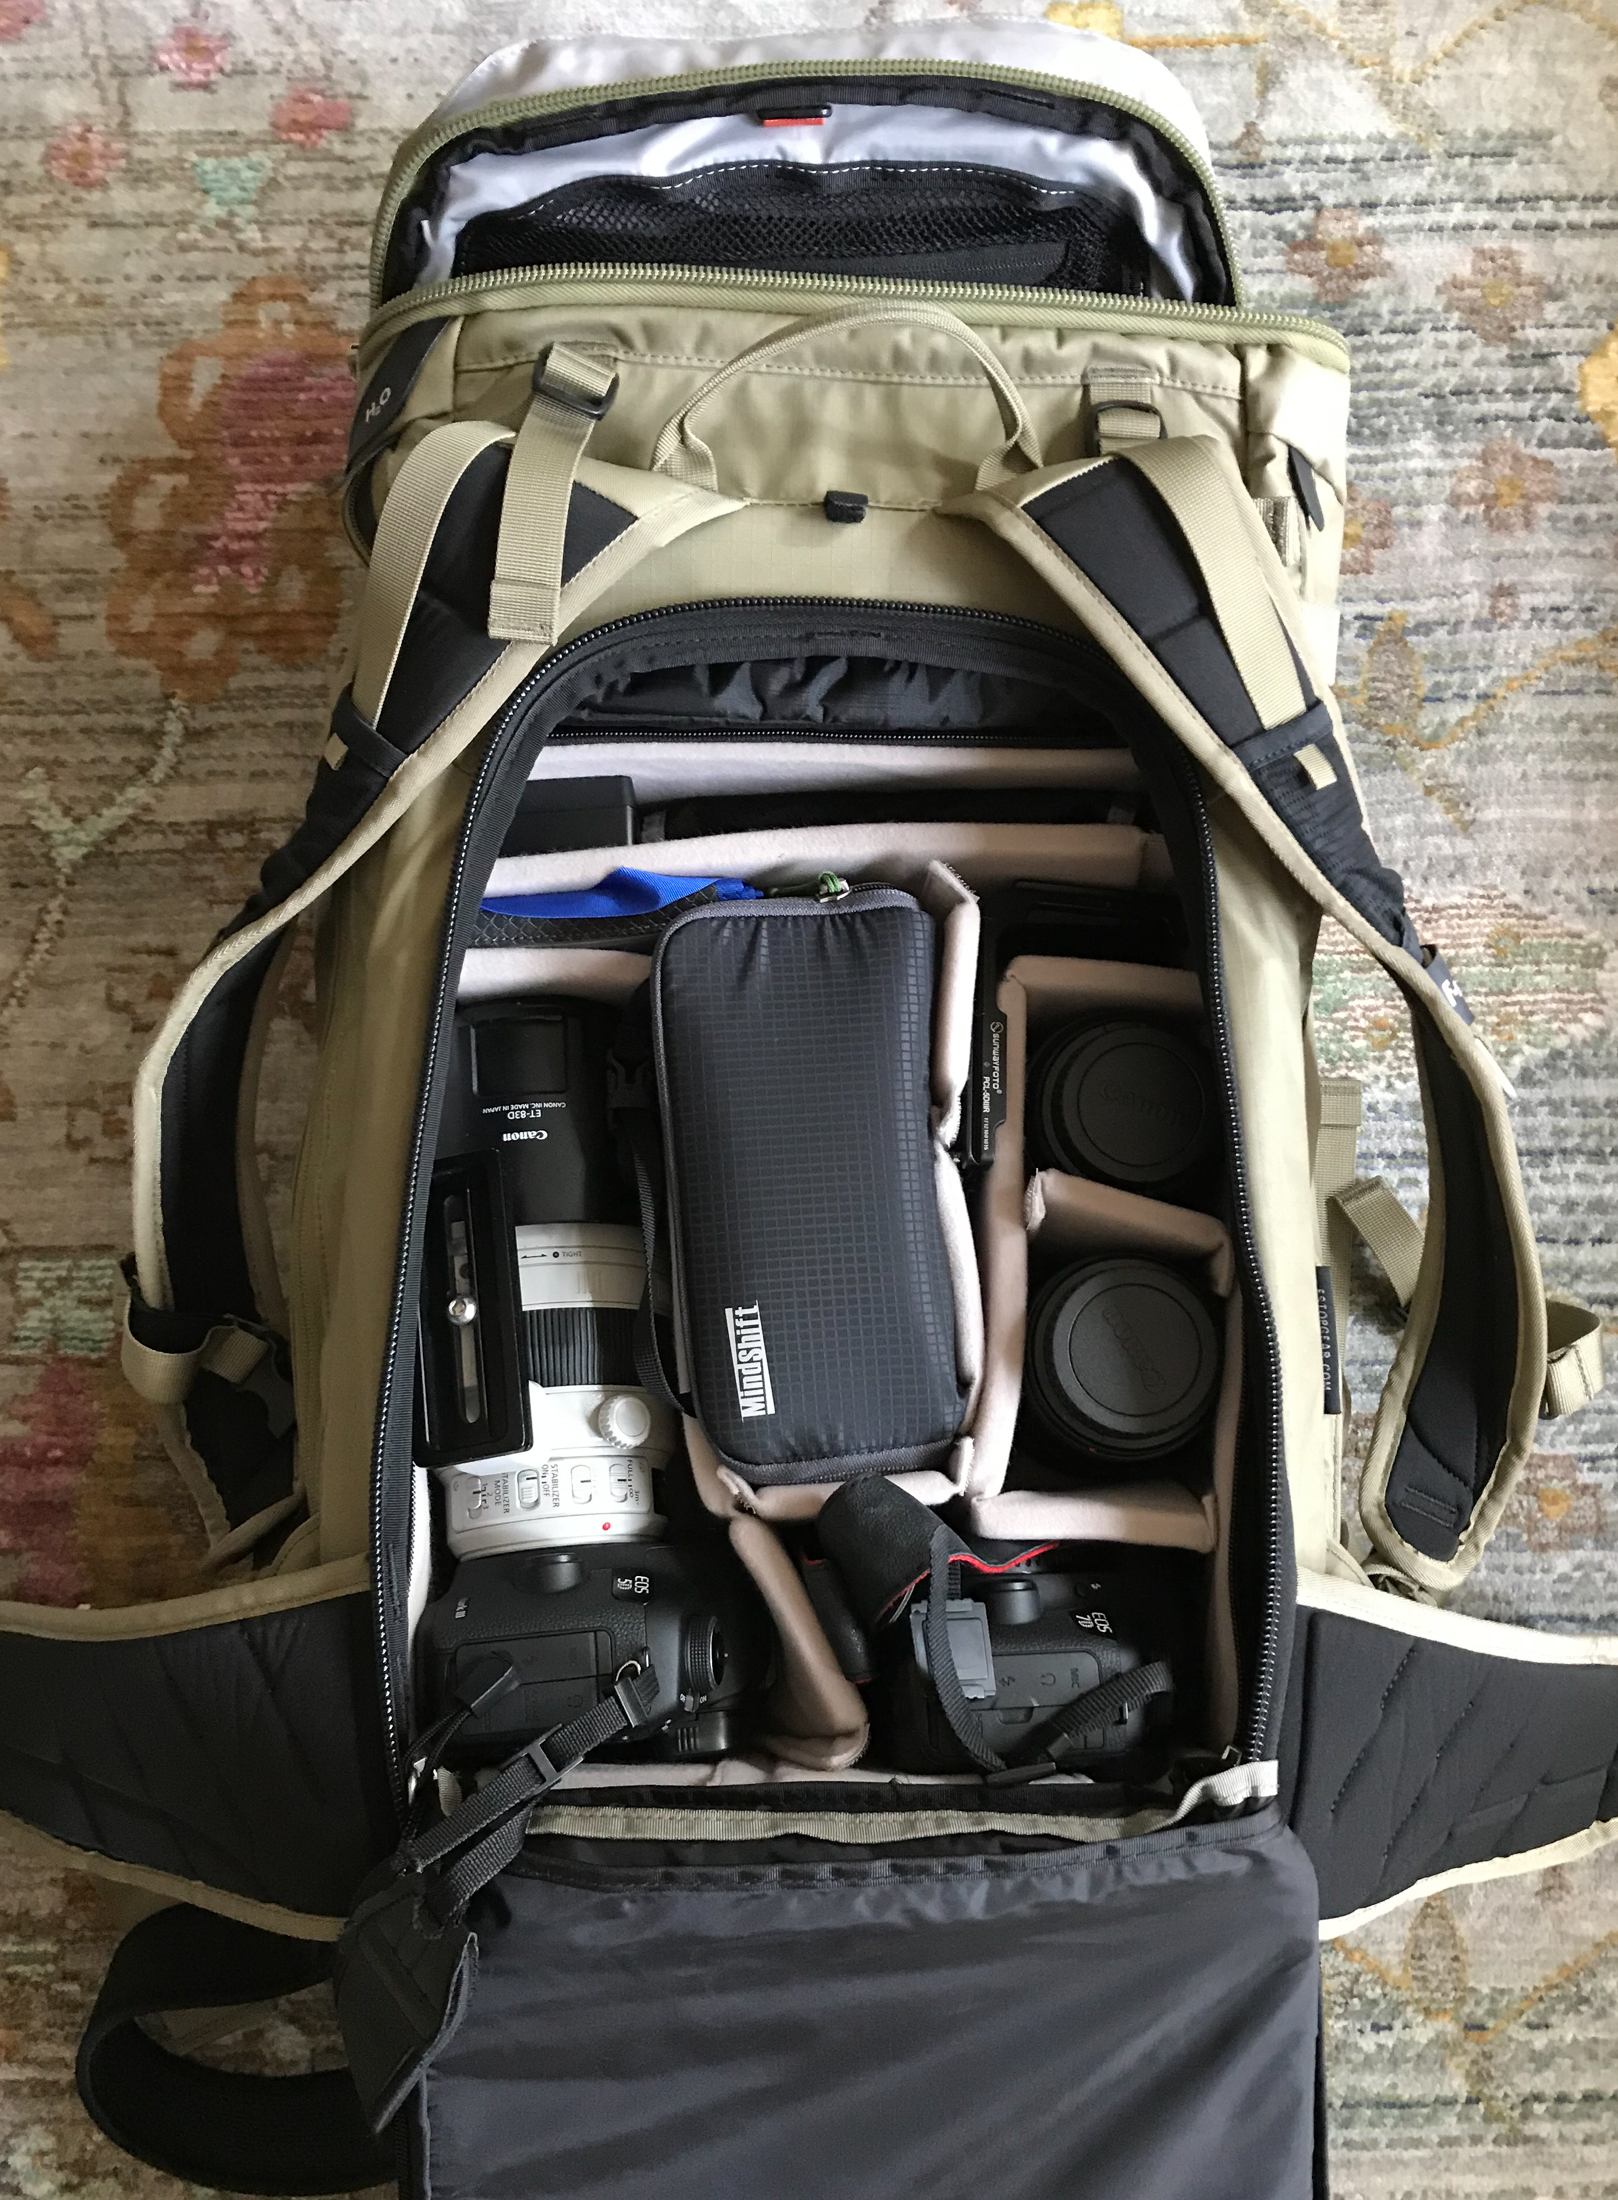
Two of the main conservation organizations, Iain Nicholson Audubon Center at Rowe Sanctuary and Crane Trust, offer photo or viewing blinds on the banks of the Platte River. For our small group tour with Summit Workshops (which I highly recommend!), our leaders Michael Forsberg and Chris Steppig reserved blinds for us to use in the mornings and evenings.
With years of experience photographing cranes, Mike and Chris shared a ton of crane knowledge with us, including how to keep a low profile in the blinds. In the afternoon, we got there long before the cranes began flying in and we snuck out in darkness after they had settled on the river. The morning routine was the same, just in reverse. We wore dark or muted colors, stayed quiet in the blind on the trails and, after dark, used only red light.
I don’t doubt that the cranes were aware of the bunch of humans staring out at them from wooden boxes. But, by doing our best to lay low, they weren’t bothered by us, at least not enough to leave the river.
Those country roads that I expected … led to more cranes.
Daytime was for driving around small country roads to see a different part of crane life. The corn fields are where the birds build up their reserves by feeding on old grain left from last season’s crops, insects and even small mammals. Plus, they hang out with their families and friends, teach their young, and do their famous crane dances to show off for their mates and rivals.
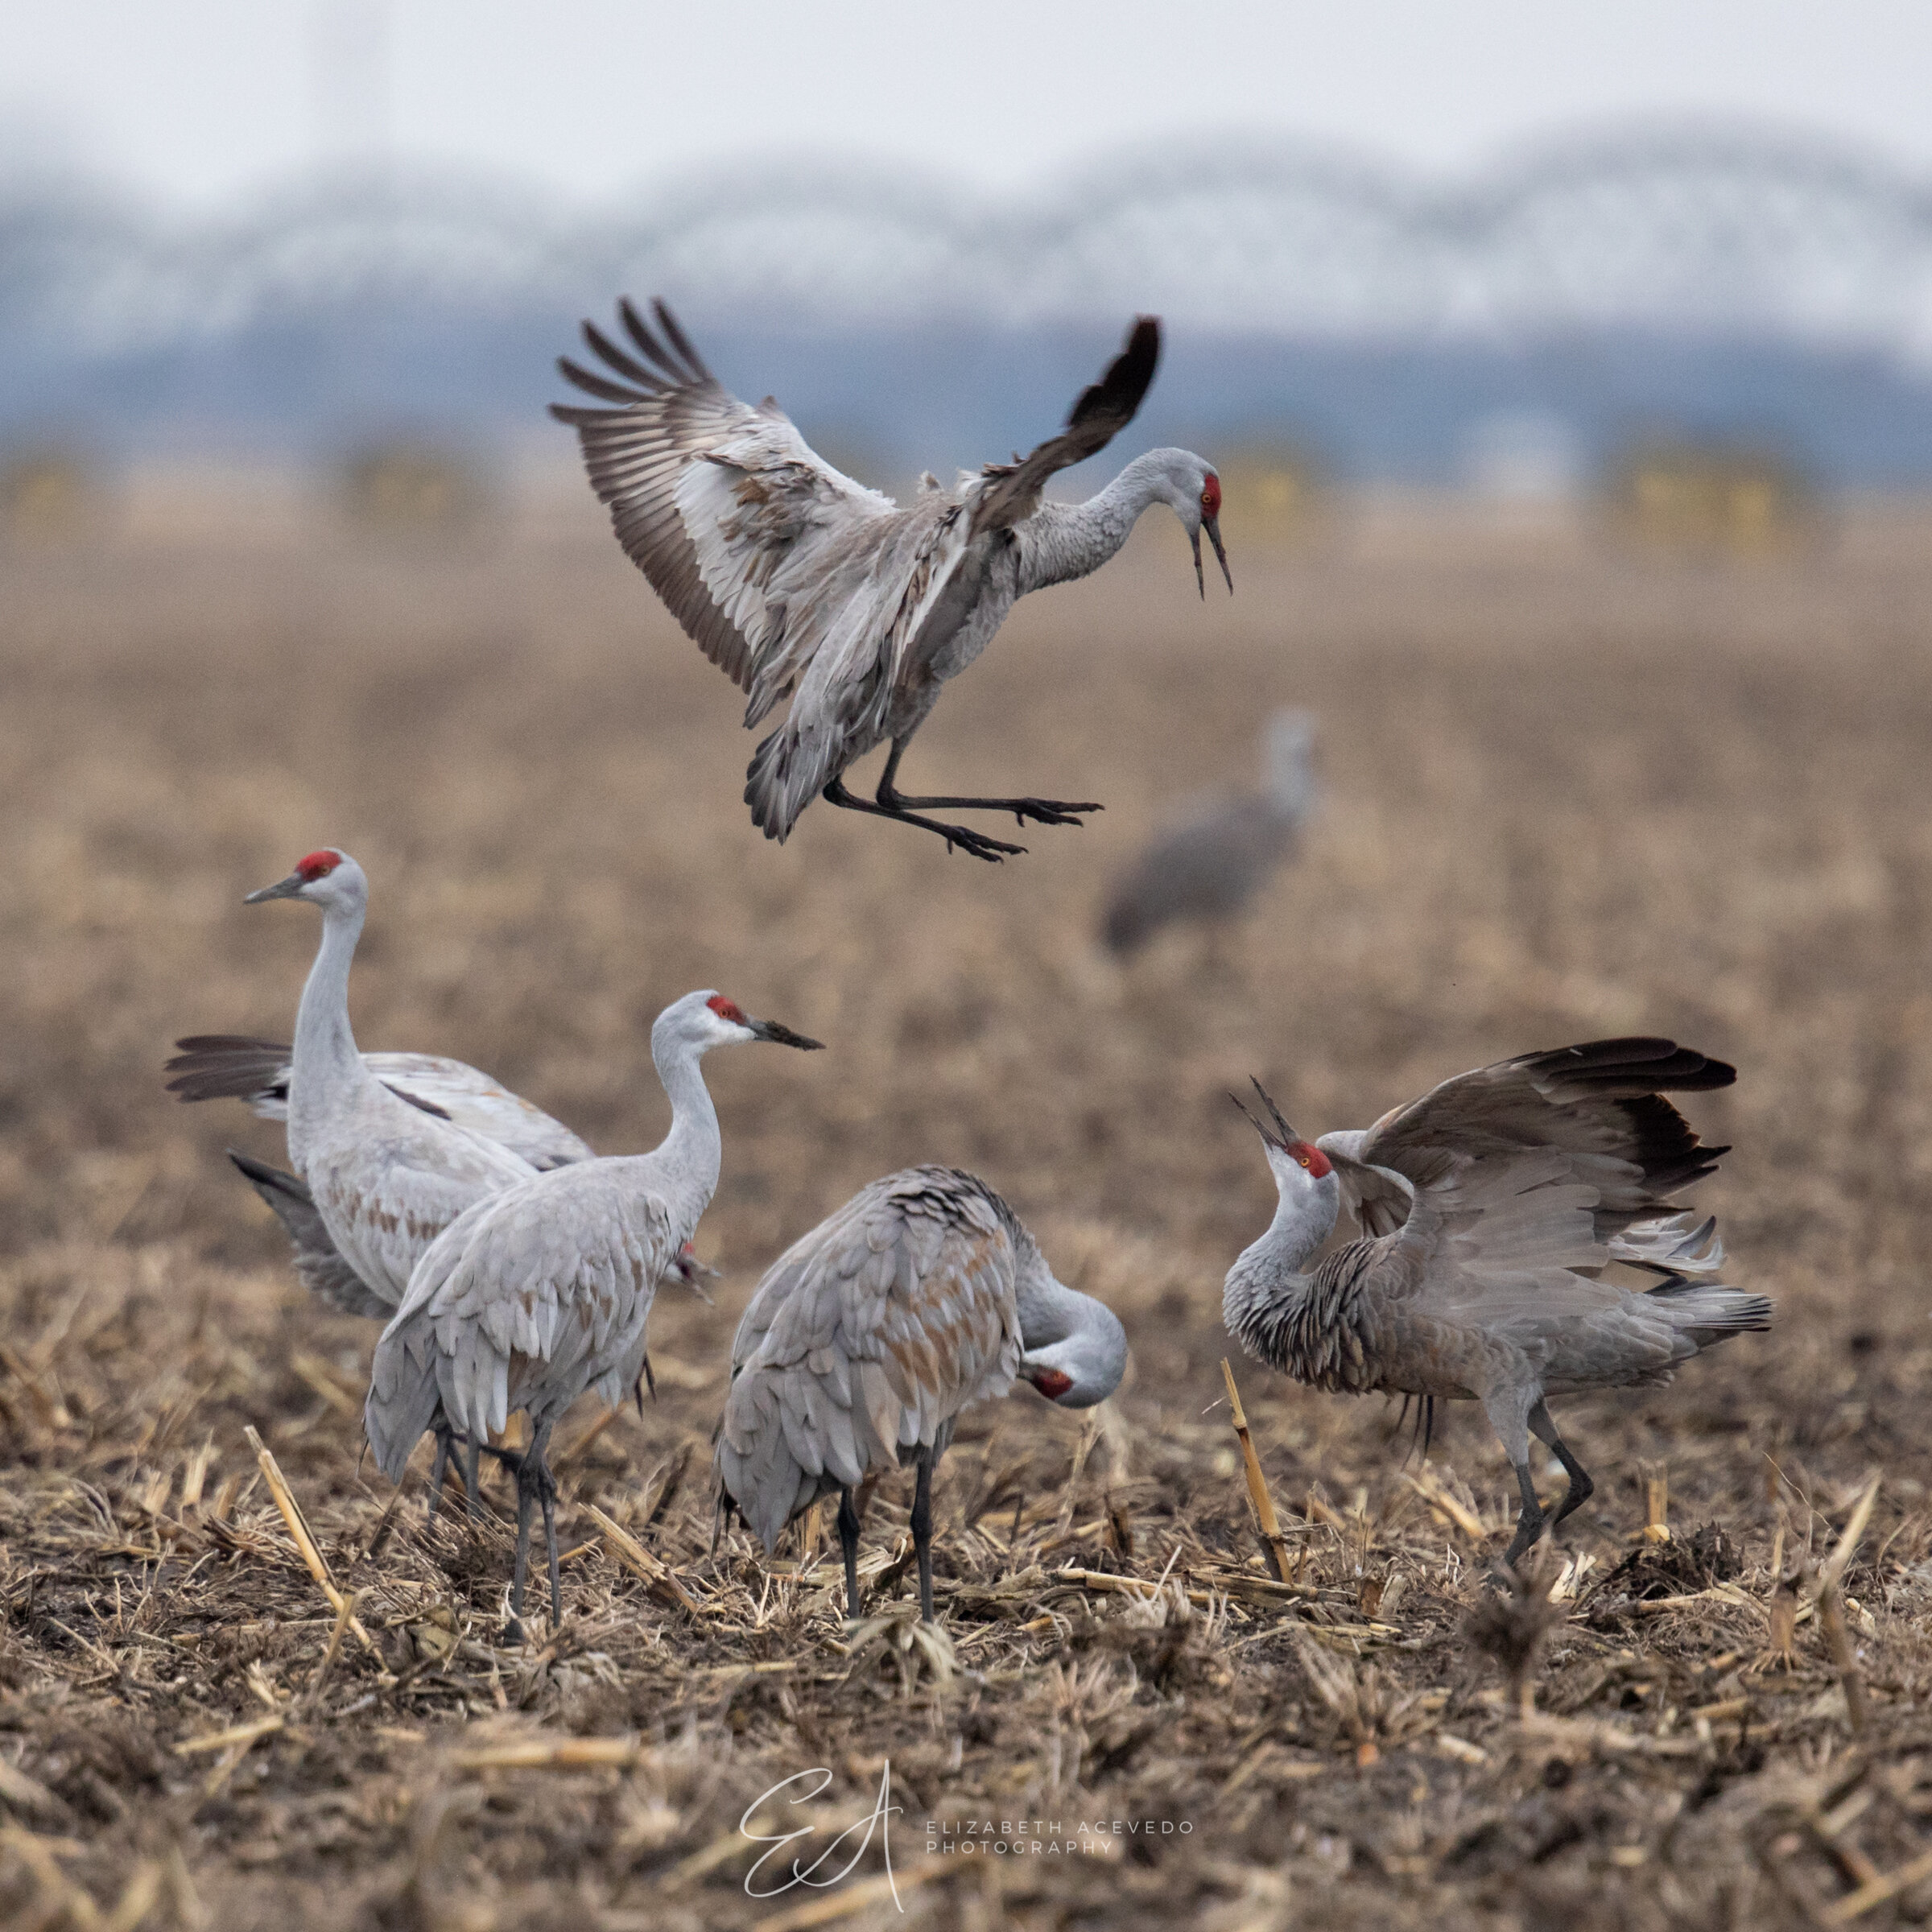
Sandhill cranes dancing in the Nebraska corn fields. © 2021 Elizabeth Acevedo.
The quiet time sitting in my car surrounded by sprawling farmland just watching the cranes go about their day had a peaceful charm that I liked just as much as the more dramatic sunsets and sunrises on the river.

Young sandhill crane foraging in corn field. © 2021 Elizabeth Acevedo.
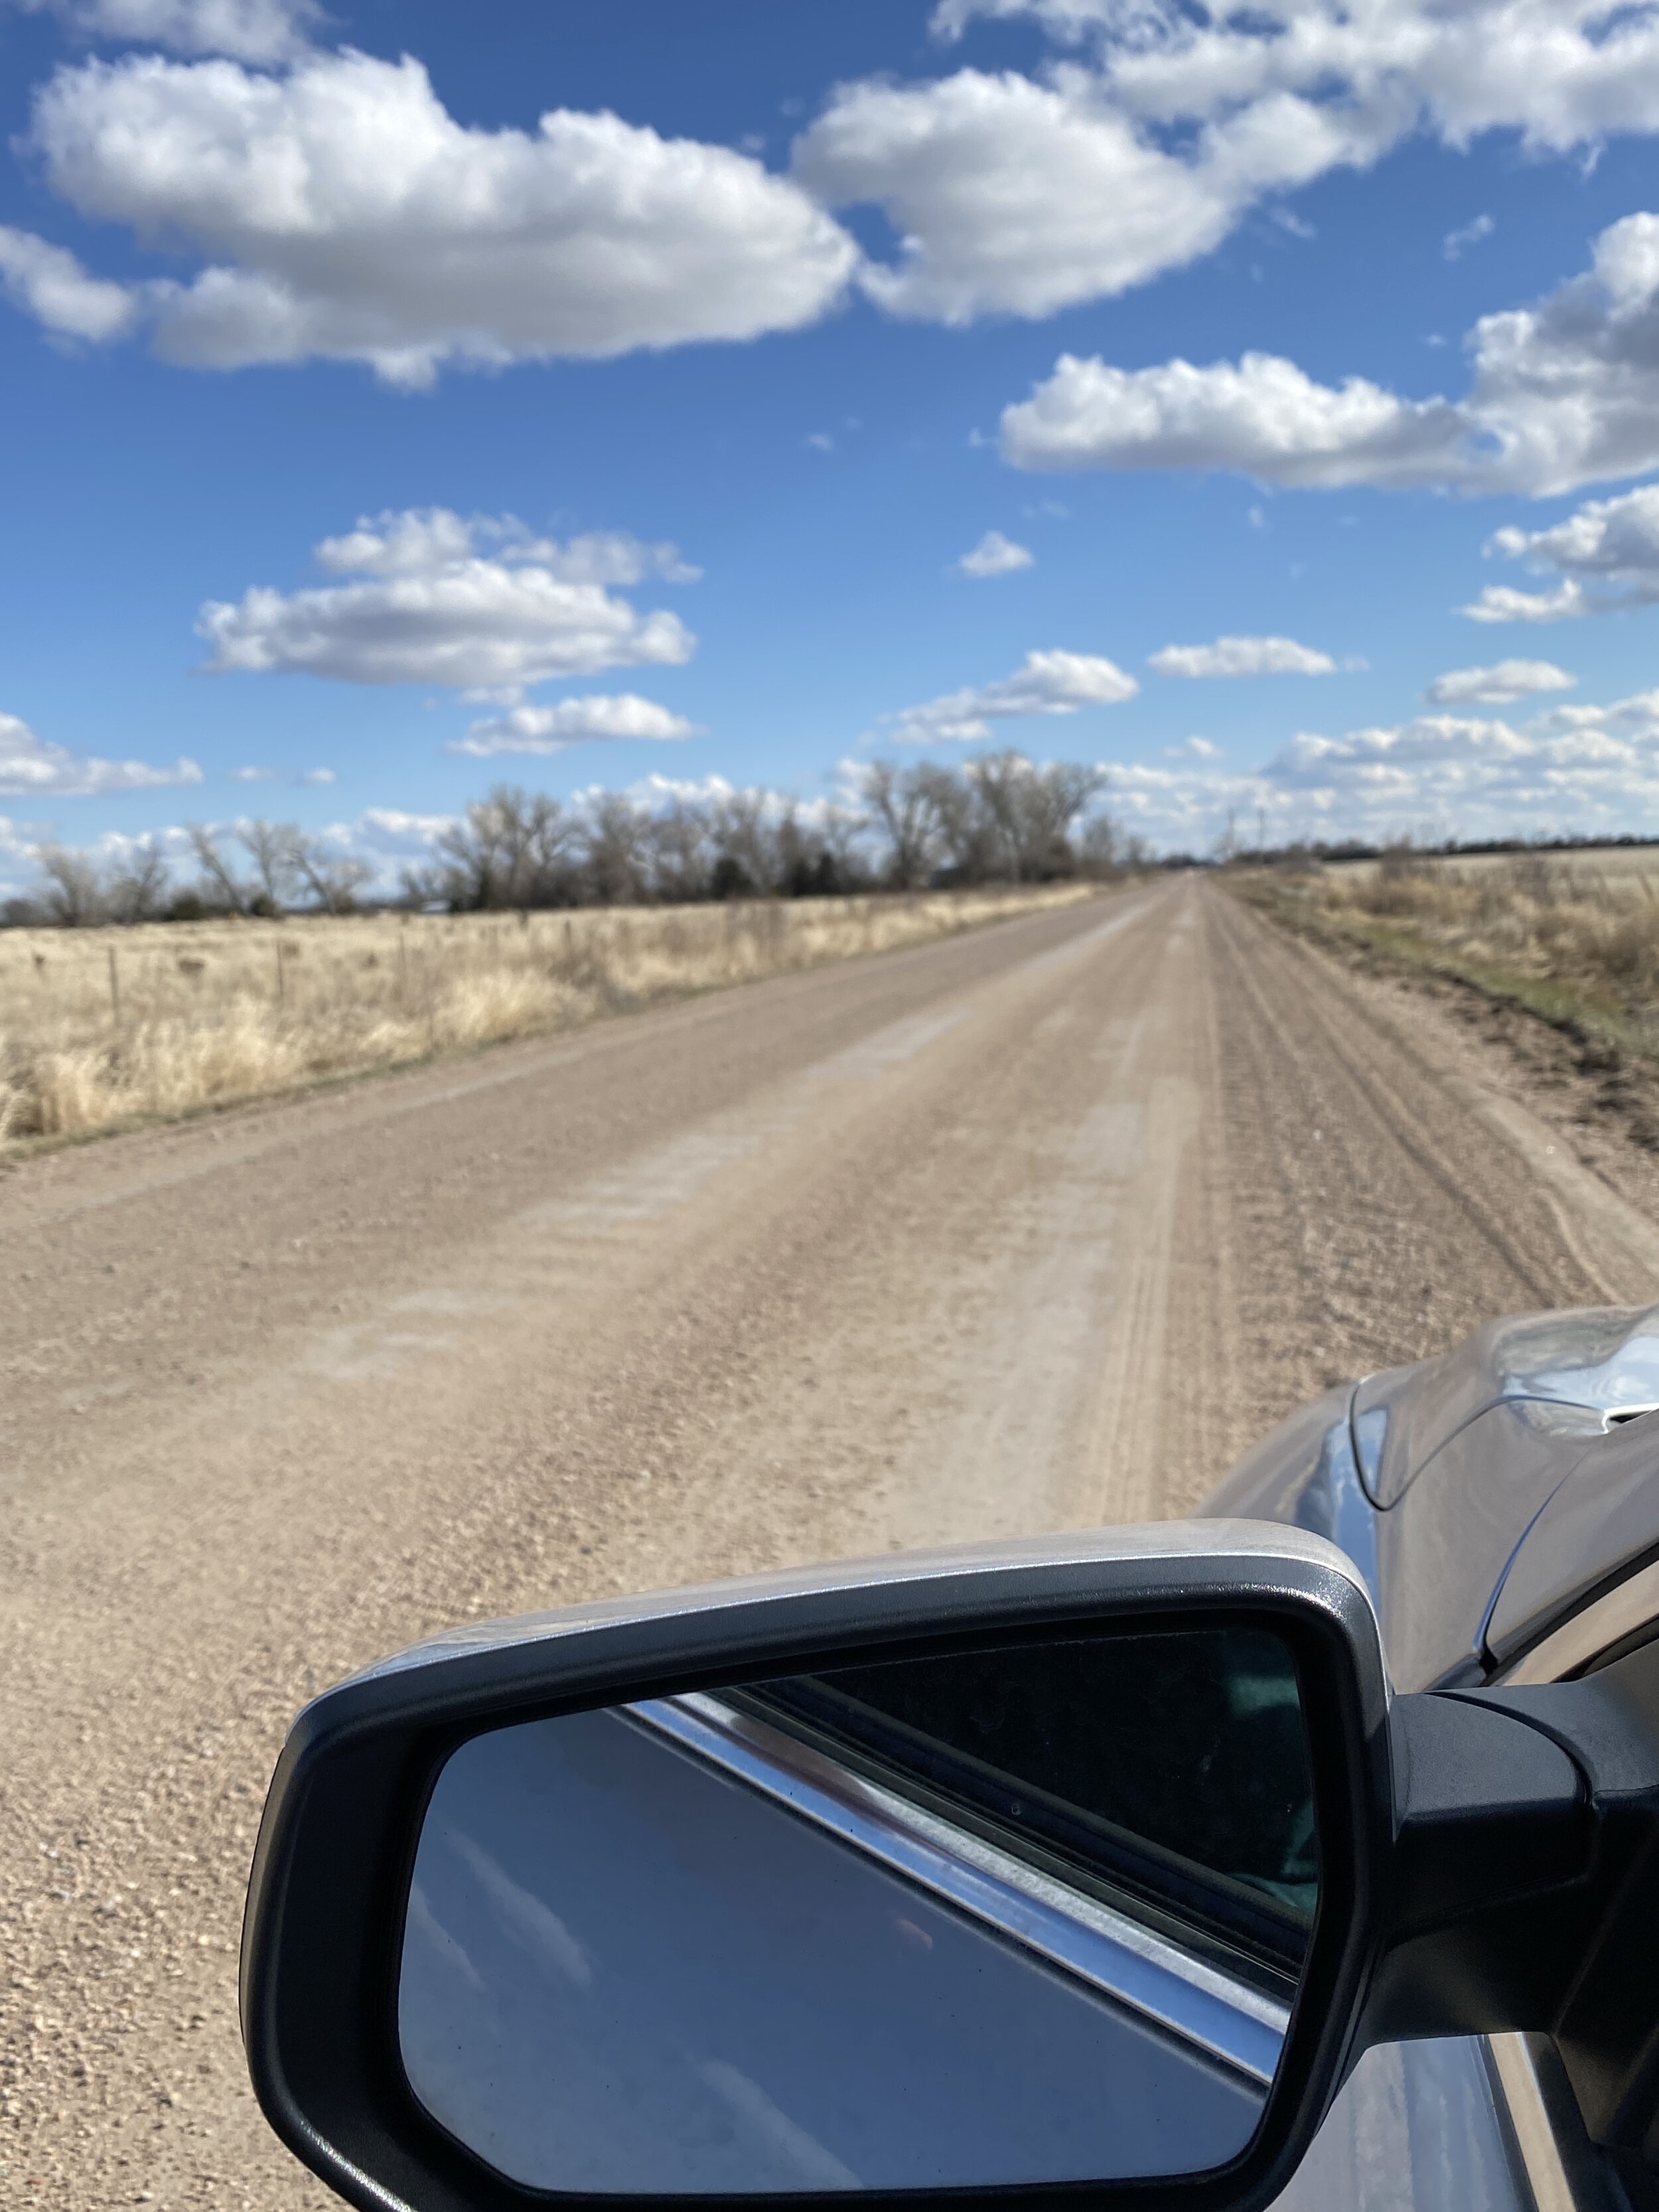
Backroad near Kearney, Nebraska (shot on iPhone). © 2021 Elizabeth Acevedo.

Sandhill cranes flying over Nebraska farmland in morning light. © 2021 Elizabeth Acevedo.
So if you’ve been dreaming of witnessing one of the world’s great wildlife migrations, put Nebraska on your short list of places to visit!