Updated (Initially posted July 2019)
Combining two of my favorite things - solo travel and wildlife photography - can be a little tricky. To photograph animals and birds in their natural habitat, we have to be in it. And for someone like me who has no wilderness skills, going deep into wild areas alone is not the best idea for a lot of reasons. I know that there are skilled, experienced adventurers out there who can handle long solo hikes and camping safely. I also know that I’m not one of them.
So when planning a trip to a wildlife destination to photograph (or just view) animals, what are some options for the non-wilderness-expert, nature lover? Here are three types of trips that have worked for me.

Lion mother kissed by her cub, taken on a photography safari in Botswana. © Elizabeth Acevedo
1) Join up with a tour or workshop for part of your solo trip.
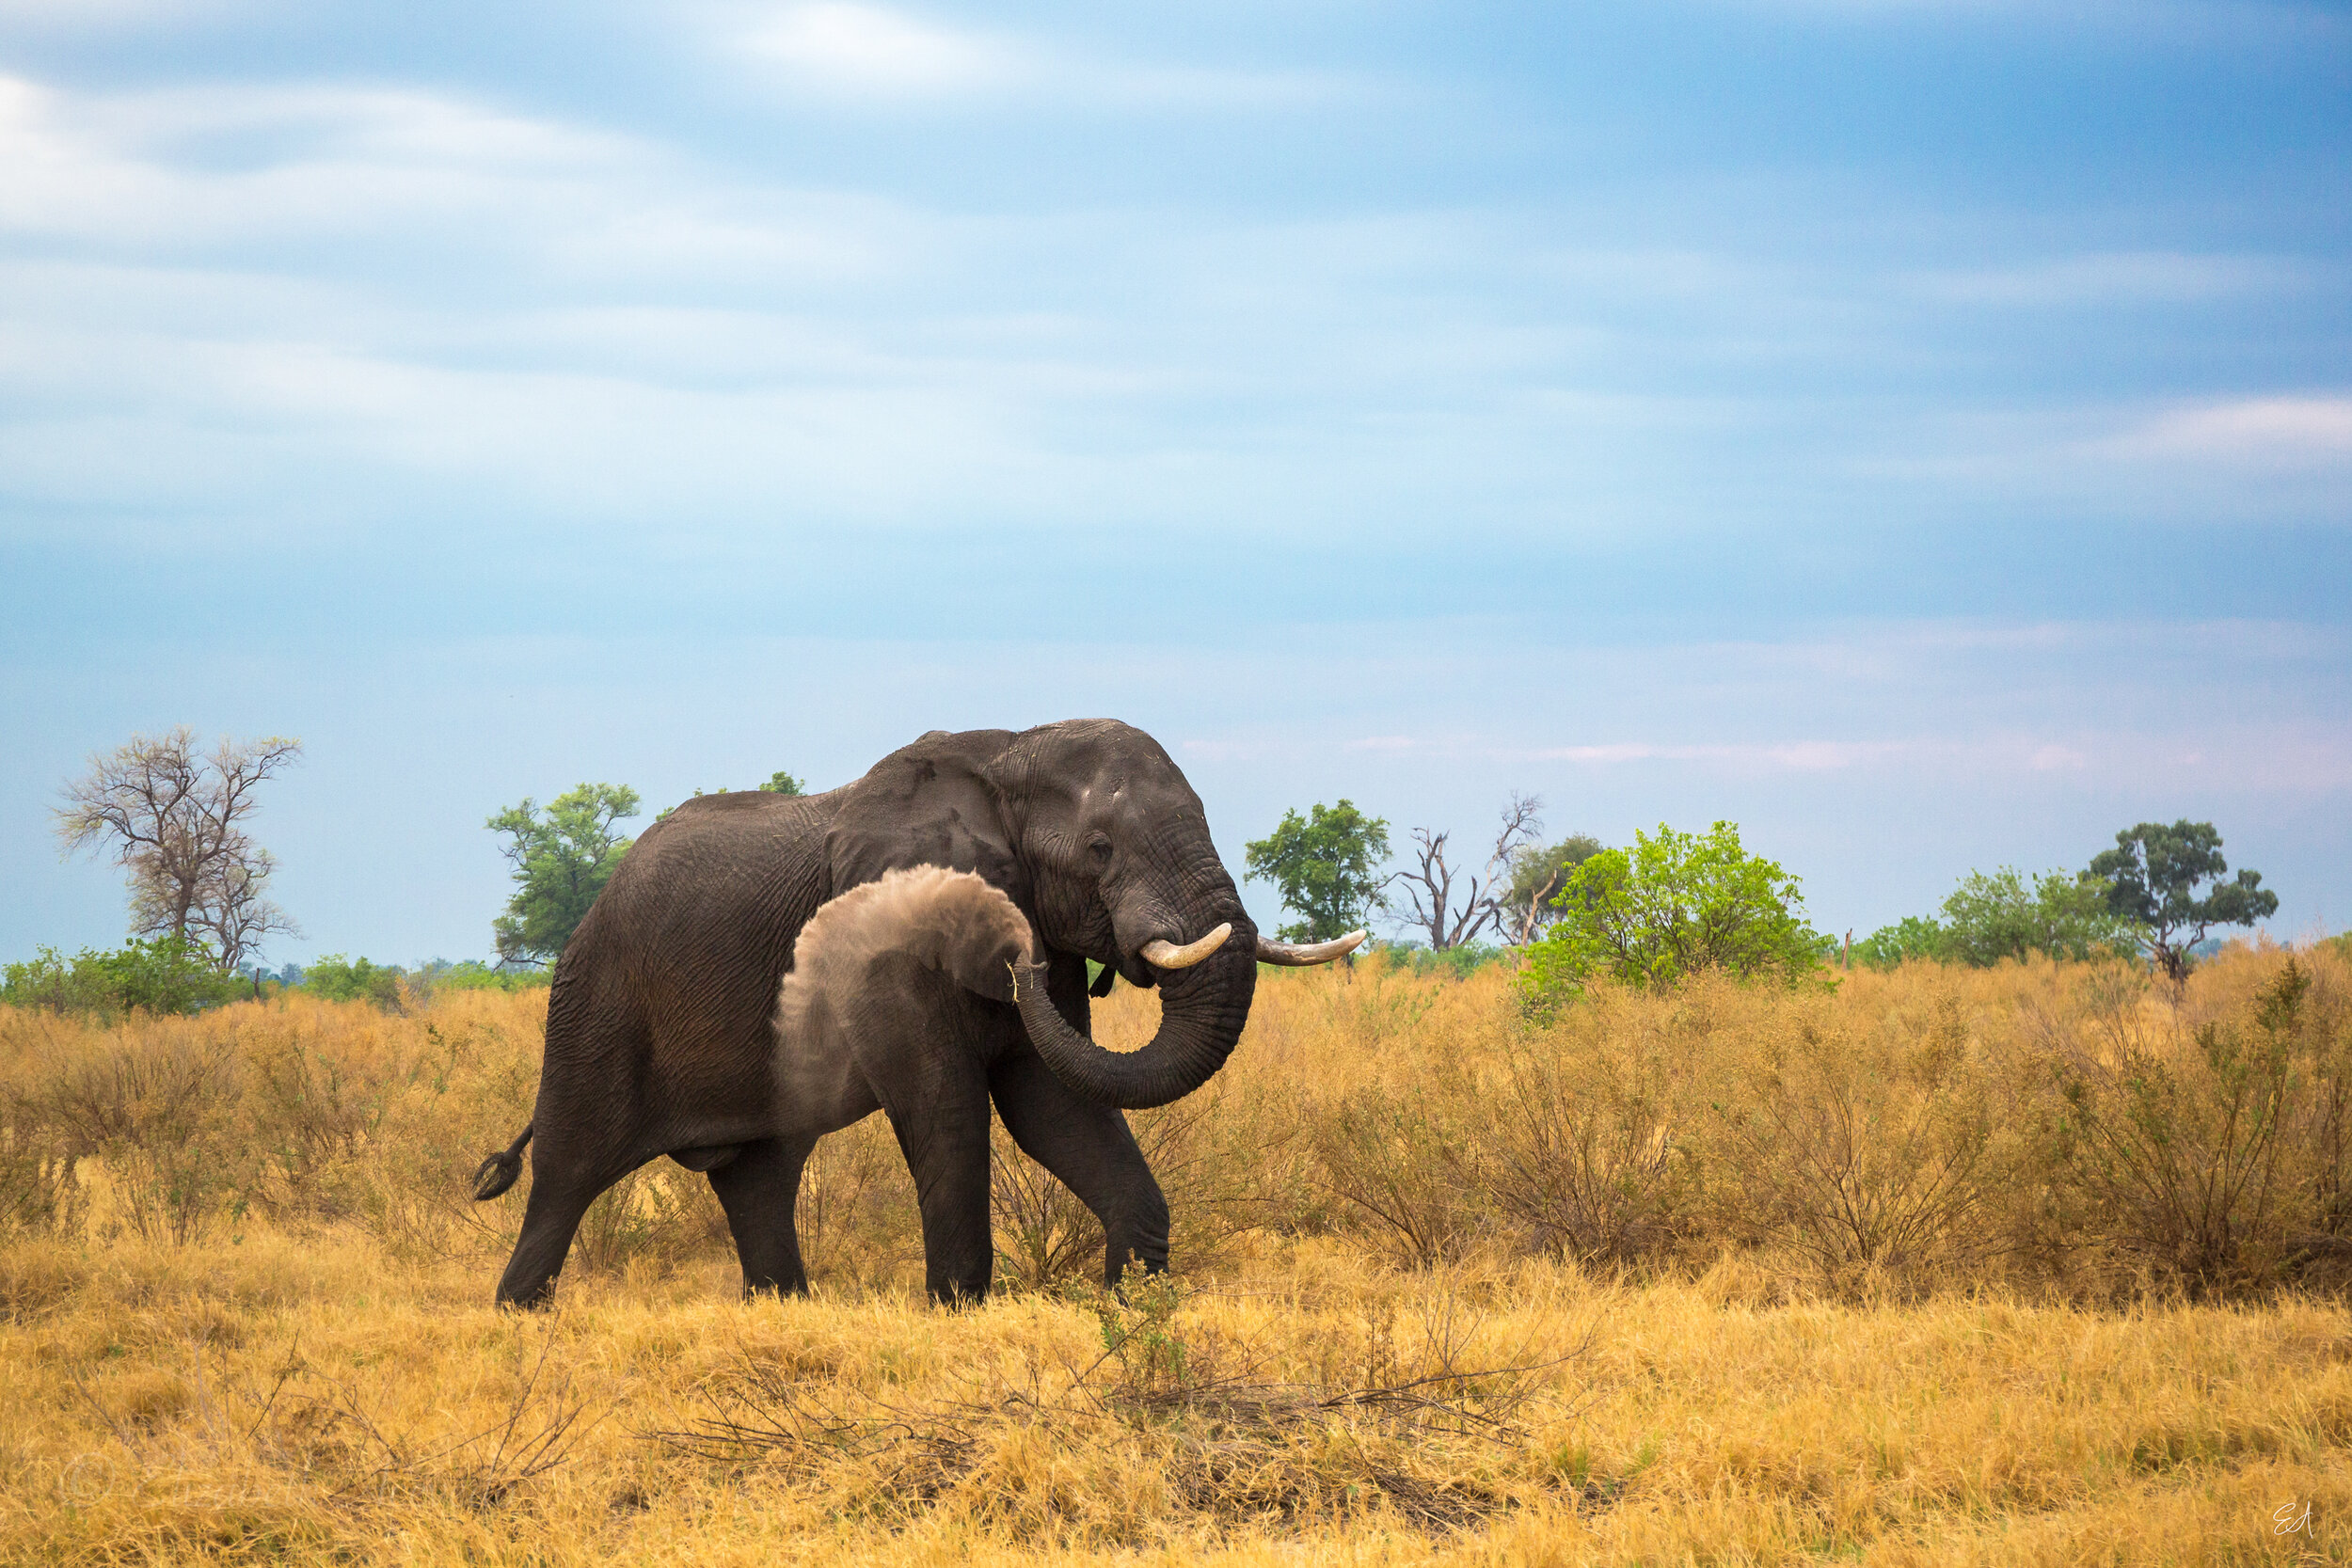
Even if you spend the main part of your trip on your own, meeting up with a group for a specialized wildlife photography tour or workshop can be a great option. I had a great experience doing this a few years ago in Botswana and South Africa. I started and ended my trip with solo visits to Johannesburg and Cape Town and, in the middle, joined a photography-specific group safari in Botswana’s Okavango Delta.
Tours and workshops can range from basic to full service. On the simple side, the trip leader plots out the best locations to shoot each day and meets or drives you there. On luxury tours, the leader manages all of the travel planning, shoot locations, transportation and meals from start to finish. Whatever the level, having someone else handle the sometimes complicated logistics around wildlife photography is a real advantage.

Sunset at Sandibe camp in the Okavango Delta. © Elizabeth Acevedo
Another plus is that you will be with other people who share your interests and will get up early with you and stay late at a location for the best light. No one is trying to rush back for dinner. Although leaders and group participants will vary, there likely will be good opportunities to learn about photography, animal behavior, or the area you are visiting.

A safari vehicle in the Okavango Delta, Botswana. © Elizabeth Acevedo
One of the downsides of a tour or workshop is it generally comes with a higher price tag than other types of travel. Of course, the extra cost may be completely worth it if the photographer leading the trip is someone whose skills you admire, the leader is very knowledgeable about a particular location or animal, or you really prefer to have everything planned for you so you can focus on the wildlife. The higher price tag is just something to consider as you plan.
Another potential disadvantage is that you will be following a set itinerary that someone else arranged. The schedule, for example, might slot a full day of macro insect photography when your real interest is photographing mammals. Some trips will offer optional activities or build in some flexibility to do your own thing. A little research and asking questions before you book should help you figure out what your options will be.
Also, popping onto a trip with strangers means you never know what the group dynamic will be. You might find yourself with people who aren’t good travel or photography buddies for you. On the flip-side, the group might a fun and easy-going bunch and you end up making some new friendships that last well beyond the trip.
2) Choose a well-situated lodge that offers wildlife viewing opportunities and some support.
The next style of trip offers more of a true “solo travel” scenario and requires a bit more research in exchange for more scheduling flexibility. Option 2 is to book a stay at a lodge that is situated in a way that it is possible to photograph wildlife on your own while still providing some support for you. This was what I did for a recent trip to Costa Rica. After researching and reading a lot of reviews, I decided on Bosque del Cabo, a small lodge on the Osa Peninsula known for its sustainable practices and an expansive, mostly undeveloped property. The lodge’s property includes primary and secondary rainforests edging up to the Pacific Ocean, which results in abundant wildlife viewing opportunities. Although it isn’t a budget option, traveling solo to a place like Bosque del Cabo made my travel funds stretch farther than a fully guided tour and offered a ton of freedom.

Squirrel monkey eating a katydid under the shade of a primary rainforest on the Osa Peninsula, Costa Rica. © 2019 Elizabeth Acevedo

Spider monkeys eating mangos in Costa Rica. © 2019 Elizabeth Acevedo
From my open-air cabin, I could hike any of several well-maintained trails on the property and maybe see one other person, if any, while staying within a close distance to the lodge. The lodge recommended leaving word with a staff member when going on a longer hike alone. Hiking really was optional though because most of the wildlife that I saw and photographed were on or around the trees close to the lodge and cabin areas. The local trees were producing tons of fruit and nuts – coconut, almond, peach palms and mango, from what I could tell – so the animals and birds were making the most of it.
An important factor for me when choosing where to stay, the lodge follows conservation best practices by not feeding any of the wildlife. As a photographer and animal lover, I try my very best (as do many wildlife and conservation photographers) to observe and photograph wildlife without disrupting their normal behavior or causing them stress.
Another advantage of the small lodge experience is that it can be a good middle ground if solo travel appeals to you but you are worried about feeling too isolated. Bosque del Cabo, for example, has a maximum capacity of 50 guests, according to its website. During my stay, there were maybe 15-25 other guests – including four solo travelers besides me. The cabins are fanned out around the property so there is no chance of feeling crowded. At the same time, socializing is easy as dinners are communal (unless you request otherwise) and people tend to gather at the bar an hour or so before dinner. The staff members are warm, friendly and always ready for a chat too.
If even short hikes alone sound daunting, the lodge offers some short tours so you can get the lay of the land before you venture off on your own. The lodge has a resident naturalist who leads group hikes and is a wealth of information about the primary forest and its inhabitants. Two birding trips also are available with a local expert.
From a photography standpoint, something that can be a pro or a con is that the photography planning is all up to you. Unlike being on a tour or workshop, you alone are in charge of figuring out the best locations, understanding animal behavior and being disciplined to get out in the best light and make your images. If you aren’t good at one or more of those steps, the photos may not be as good as those you’d get with a seasoned guide. But you have total freedom to plan what, when and where you want to shoot.
3) Travel on your own to the destination and then find a private local guide when you arrive.
One more option is to travel solo to your destination and hire a local guide once there to show you to the best wildlife viewing spots. Although I have not tried this for an entire trip, I did this to tour a mangrove on a previous trip to Costa Rica a few years ago. I was traveling with friends but the whole group planned a day of deep sea fishing, something I wasn’t interested in. The small, family-run company that managed our rental house recommended a private guide to take me through a nearby, protected mangrove by boat. The young guide was incredibly knowledgeable about birds and the mangrove environment and helped me get some of my first bird photographs. The cost was very reasonable and, if I had not been with friends, I likely would have booked more day trips with him.
I am generally a cautious traveler when visiting a place on my own and, for one-on-one excursions, will use a guide only if the person is recommended by people whom I trust or who have some investment in my safety, like local hotel and lodge operators. Also, I didn’t know to ask back then but, today, I would inquire about the guide’s policy regarding wildlife tourism ethics to make sure he or she puts the animals’ wellbeing above a tourist’s desire to get a picture.

Red lored parrots on the Osa Peninsula, Costa Rica. © 2019 Elizabeth Acevedo

A ranger talks to visitors as Ridley turtles come ashore to lay eggs. © Elizabeth Acevedo
It might take a little more research and chatting with people to find the right person or company but using a good local guide supports the community you are visiting. Plus it can be a way to keep your total travel costs down.
I hope these ideas inspire you to start planning that next solo adventure to see some of the earth’s beautiful wildlife.
Copyright © Elizabeth Acevedo. All rights reserved.


